just had to shout out this Divinely Inspired idea.
I bought this antique sewing machine base with the long beveled glass. I was going to simply construct a wood top to fit under the glass and cover it with fabric. I was painting it black and got the idea to use chalkboard paint for a fun alternative to fabric.

Sunday, February 14, 2016
Tuesday, May 12, 2015
Crackle paint with glue- Who knew!!
Learned a simple trick that yields amazing results that I wanted to share.
Crackling paint using cheap glue!
Painted this piece with chalk paint first.
I bought the least expensive (sounds better that cheapest) glue available from Honby lobby.
Crackling paint using cheap glue!
Painted this piece with chalk paint first.
I bought the least expensive (sounds better that cheapest) glue available from Honby lobby.
Monday, December 16, 2013
Saturday, June 9, 2012
Our RV Re-Created for less than $100 (except the flooring added a little bit)


Camping is supposed to be fun and relaxing.
How can I relax and enjoy
myself when all around me, shiny brass,
floral walls and dirty GREEN carpet. In "Just do it" mode - I grabbed the Kilz and got busy covering up the floral walls of days gone by. So easy - why did I not do this years ago

 .
.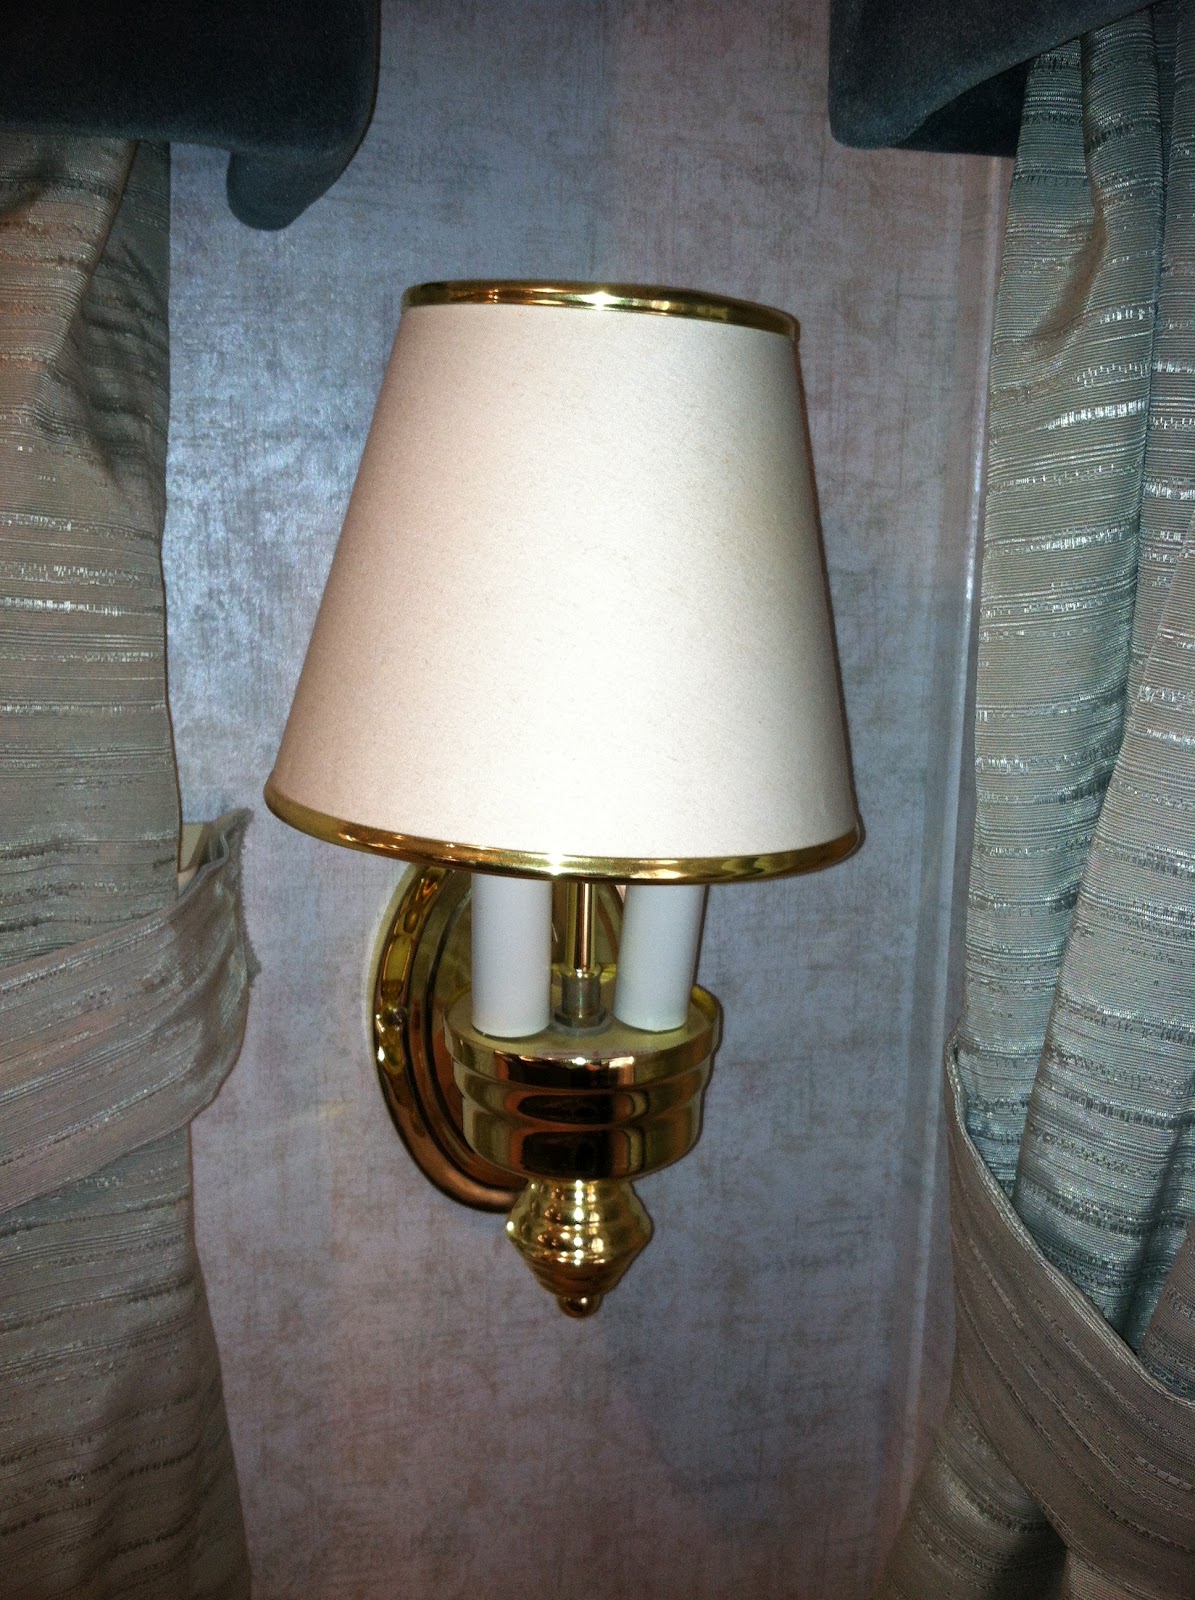 |
| covered these shades with fabric and painted the shiny brass. (this is before) |


I spent hours trying to figure out how to cover up these decal laden cabinets... old tin? contact paper?....5 minutes with a razor blade solved this dilemma

I had broken the globe over the light fixture over the table. After several failed attempts to "Hacki Shack" it, I finally
removed the chains from a garage Sale hanging basket and wired it onto the existing screw. Love this!!

failures - which, failure is a big part of my

costly lessons. I had read on the internet
that you could dye velvet. Well, that might
work on real velvet, but on this synthetic
velvet, it rubs right off. I always wanted to
cover a recliner. not. After picture for this will emerge someday.
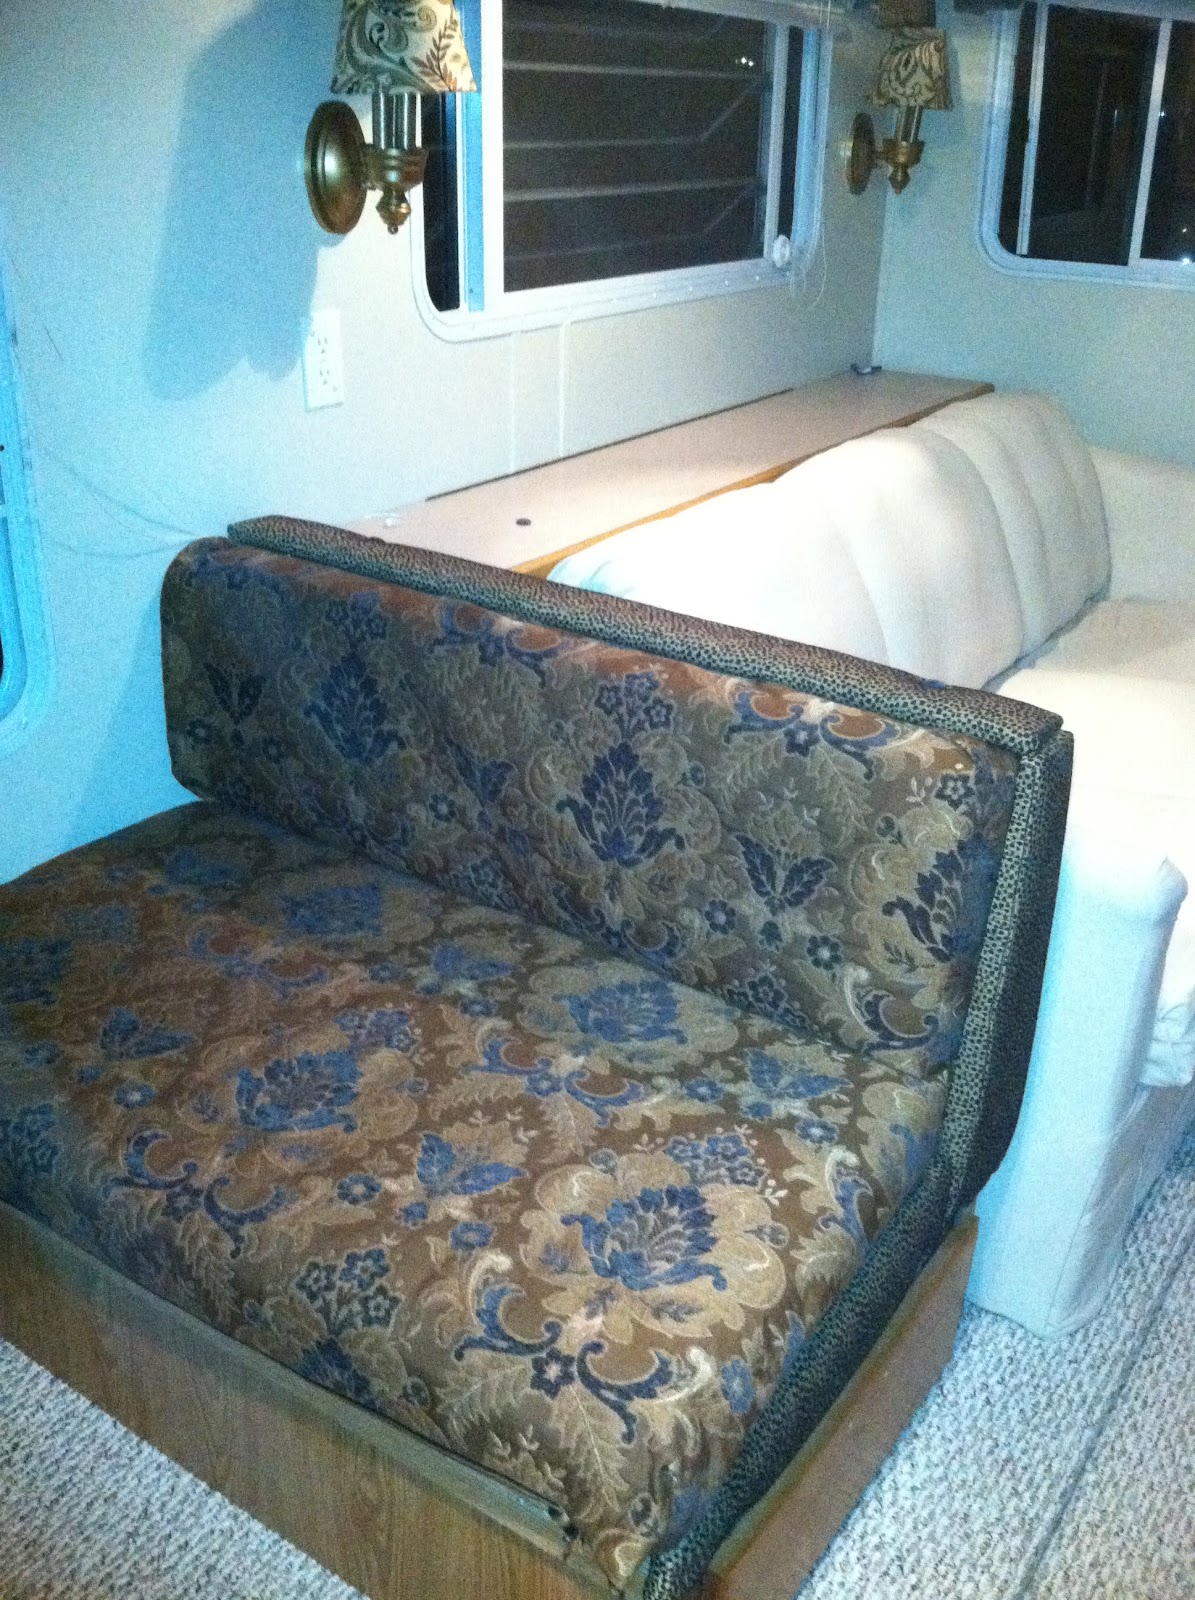 |
| Now, what can i do about the couch? If you notice, there is no before picture of the couch. There is a reason for that - and I bet you can guess what it is. I bought 2 drop clothes - about $25.00 each and started tearing and stapling. The only sewing I did, was a few hand stitches on the underside of the top cushions. |
 |
 |
| hmmm...how can I spice this up? |
 |
| /stapled fabric to the wall - stapled a valance over the top of the bed that was made out of a chenille pillow sham and spray painted stencil over the mirrored cabinets. Busted up a garage sale Chandelier and added crystals to make the chandelier and small light covers over the headboard Wish I would've done this years earlier, but then again, I would probably just be ready to redo it by now! Ahhh.......NOW i can be a Happy Camper! |

Saturday, January 28, 2012
Let there be Light-New life for old chandeliers
Updated chandeliers are one of my favorite ways to add drama and personality to a room.

Here are a few of the Fun-deliers I have created.
This one was just an old brass one I had gotten for $5 at a garage sale. I spray painted it turquiose, but it was a little too bright. I dry-brushed a little bit of black on it to tone it down. The prisms are some that I had - i just dipped them in black paint and let them "drip dry" :-D
Covered the candleabras with scrapbook paper, and ta-daaaa!!!

This is the chandalier I made for my granddaughter, Brynlee's room. This one had yellow plastic flowers on it that were so brittle they would just break off if you touched them. I tried spray paint and that wouldn't work, so then i just dipped them individually into my can of Kilz and hung it outside to drip dry. I sprayed the rest with white spray paint - covered the candleabras with fabric that matched her bedding and added some pink crystals that were from another garage sale chandelier.
.JPG)
 |
| I modified this chandelier with keys that I had spray painted different colors - silver, white, antique brass, etc. It had hideous globes on it - recycle them.....somewhere else! |
 |
| One thing I have learned about chandeliers - it is really hard to get a good picture of them. If you turn the light on, you SURE can't see it. Kinda like a mirror - just love taking a picture of a mirror and seeing my reflection in it... yuck. This one I just spray painted white and covered the candelabras with 3 different coordinating patterns of scrapbook paper. One thing you don't need to get stumped on - you can make any light fixture into one you can just plug in. They don't have to be hard-wired in!! |
Friday, January 6, 2012
Baseball Wall - How to
I asked my daughter-in-law, Tricia, to give us some step by step instructions on how she created Hudson's Baseball Wall.
Labor of love
 My mother in law asked if I would guest blog for her about my son’s wall creation, I am not nearly as creative and talented as she is so this was most certainly a labor of love for me.
 I want desperately to be creative and artsy but the majority of the time my things are rushed and, end up looking like the work of a first grader. I am an English teacher after all and my creativity comes in the form of metaphors and words. I try very hard however, when it comes to my children’s rooms. It is as if the cuter I make their living space the more love I am showing for them. So, My husband and I saw a picture of a baseball wall and we are huge baseball fans,( as is our little boy) so we decided to make it happen in our new home.
The first task was to tackle the seams. We could not figure out a manageable way to draw the seams so Brandon ended up measuring different places on the wall and free handing the arch for the seams. Once he had the pencil marks in place I was going to stain the wall, to make it look like a dirty baseball of course. I had trouble buying the right stain so my BRILLIANT mother in law called with one of her “hacki-shack cures” . She said to mix water with a darker beige paint that we had used in the living area. She gave me exact amounts to try but I ended up just adding water to the paint until it looked “about right” . Then I took a dish rage and a bowl of the paint mixture and went to work. I started at the top and went down, since it was drippy anyway. I rubbed more around where the seams were to make it seem dirtier there, this part was fairly simple. I did it while Brynlee slept and Hudson was busy watching me and playing on the computer. The only thing that was a problem with this part was that I left the bowl of paint on the floor while I was on a step stool and even though I knew it was there I stepped right in it when I climbed down. L Hudson thought this was hilarious and wanted to paint his foot too.
Next came the putting up of the red seams. The paint mixture took about an hour to dry so when Brynlee woke up we went to Jo anns fabric store. This project was taking place the weekend before Christmas and who knew that so many people would be at Jo anns? I found the red laces I was looking for but the line to have things measured and cut was crazy long. They were taking numbers…. The next number to take was 14 and they had just called put number 3! Did I mention I had two kids in tow and it was a rainy cold weekend before Christmas??? I found a sales guy that told me if I found an unopened package I could just purchase it without being measured. I found the only package of red laces left and went to wait in line. It did n’t have a price so I was worried it was going to have to by Hudson’s Christmas present but, it was going to be worth it. It turned out the whole spool was only 12 dollars ( I would have paid at least twice that not to have to wait in line with the kids)

When we got home I measured exactly six inches each and cut the seams for the wall. I started to use E 6000 to glue them on the wall but it just wouldn’t stick. So I resorted to finishing nails. This part was pretty easy once I got going. I put a larger nail in the center of the lace and then tiny finishing nails on the ends. As with everything, it would have taken about half the time had I not had to stop to change a diaper and take a 3 year old to the bathroom and get a drink and so on and so forth…. The laces made it much easier to make sure the seams are straight. I am glad I decided not to paint the red. You can dab a bit of red paint on the nails but they are really not very noticeable. I was pretty proud of the finished product. When I asked Hudson what he thought about his new wall, that had taken all day to complete, he said,
“ looks great mom, can we do a hockey puck next time?”
“ looks great mom, can we do a hockey puck next time?”
Subscribe to:
Comments (Atom)